The smell of homemade bread takes me back to my childhood days. I can picture the fresh loaves of perfectly browned bread, sitting on cooling racks watching the butter melt over their tops. My Mom made fresh bread every week. There is no bread quite like your Mother’s bread, every loaf baked with love. This was the start of my love affair with bread.
There are so many different bread recipes to choose from today. When checking out my bread cookbooks, I get so excited to try them all that I have trouble deciding what to try first.
I made this almost no-knead bread from “Bread Illustrated,” that I want to share with you. Easy and delicious.
Artisan- Style Bakery Loaf – beautifully browned boules with a thick, crisp crust that breaks to a chewy open interior crust. This no-knead technique replaces the kneading that develops gluten to give bread structure with a high hydration level – around 85% (81/2 ounces of water for every 10 ounces of flour) and an 8-18 hour-long(and hands-off)resting period, or autolyse. During autolyse, the flour hydrates and enzymes work to break up the proteins so that the dough requires only a brief turn to develop gluten. The dough is then baked in a dutch oven; the humid environment gives the loaf a dramatic open crumb and crisp crust.
1/2 cup (4 ounces) mild lager, room temperature (Budweiser or Alexander Keith’s, is what I used)
1 tbs distilled white vinegar
Method:
Whisk flour, salt, and yeast together in a large bowl.
Whisk water, beer, and vinegar in a 4-cup liquid measuring cup.
Using a rubber spatula, gently fold water mixture into the flour mixture, scraping up dry flour from bottom of the bowl, until the dough starts to form and no dry flour remains.
Mix with hands and form into a ball. If the dough is too sticky, add a little flour to your hands.
Put dough seam side down in a plastic or glass bowl. Cover bowl tightly with plastic wrap and let sit at room temperature for at least 8 hours or up to 18 hours.
I made this around 8 pm and left it overnight. The next morning it was ready to be kneaded lightly and shaped into a ball.
Ready to leave overnight
Overnight you can see how the flour hydrates and enzymes work to break up the proteins so that the dough requires only a brief turn to develop gluten.
Next Morning
Lay an 18×12-inch sheet of parchment paper on the counter and lightly spray with vegetable oil or grease with olive or vegetable oil if you do not have the spray, and set aside.
Transfer dough to a lightly floured counter and knead by hand until smooth and elastic, about 1 minute. Shape dough into a ball by pulling edges into the middle, then transfer seam side down to the centre of prepared parchment
Dough shaped into Loaf – Ready to let rise for 1-1/2 to 2 hours
Using parchment as a sling, gently lower loaf into a dutch oven (let any excess parchment hang over pot edge). Cover tightly with plastic and let rise until the loaf has doubled in size and springs back minimally when poked gently with your knuckle, 1-1/2 to 2 hrs.
Adjust oven rack to the middle position. Using a sharp paring knife or single-edge razor blade, make two 5-inch long, 1/2 inch deep slashes with swift, fluid motion along the top of the loaf to form a cross. Put the loaf into Dutch Oven (I use a cast-iron Dutch Oven) Cover with the lid and place in oven. Turn oven to 425 degrees and bake the loaf for 30 minutes while the oven heats.
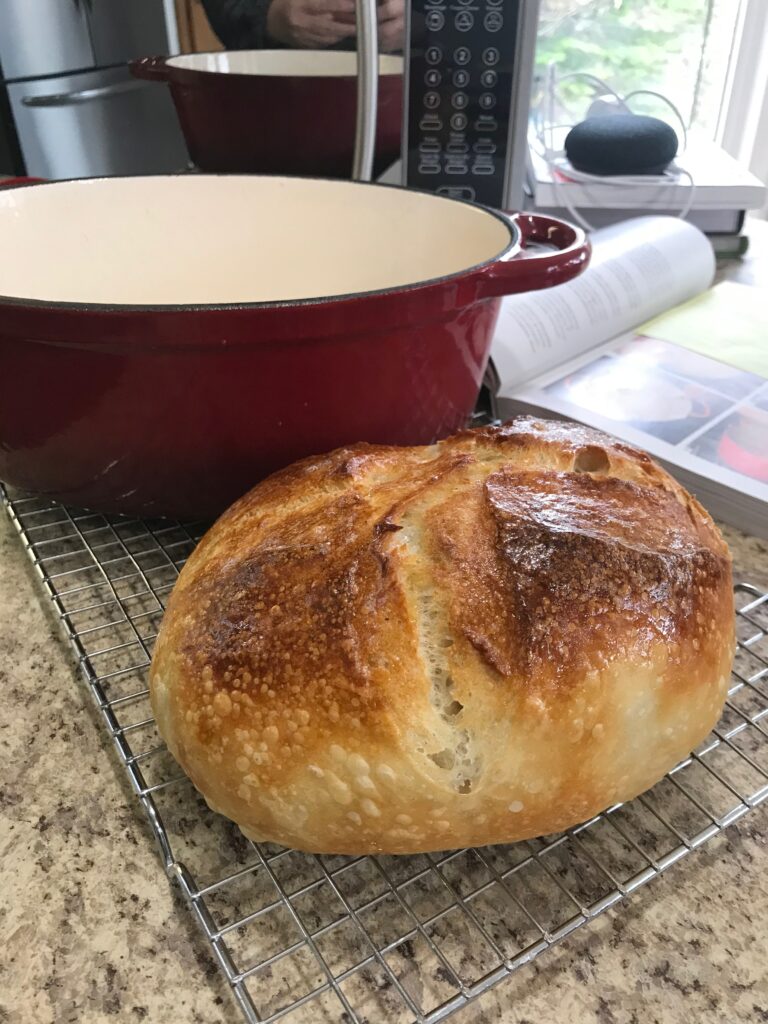
Remove lid and continue to bake until loaf is deep golden brown and registers 205 to 210 degrees ( use your bread thermometer) approximately another 25 to 30 minutes. Don’t worry if you do not have a bread thermometer. The extra 25-30 minutes will fully bake it. Using the parchment sling, remove loaf from pot and transfer to wire rack; discard parchment. Brush top with soft fresh butter. Let cool completely, about 3 hours before serving.
I must confess that I did not wait 3 hours for this loaf to cool completely. That would be far too painful. I barely made it 1 hour before cutting, spreading warm slices with butter, and savoring every mouthful. This is a delicious and very simple loaf of artisan bread to make. Go ahead and try it. Enjoy!
About Me
“Eat.Live.Design is where you connect with ideas for living a better life"
Hi, I’m Bev, I love sharing my home renovation projects, delicious recipes and lifestyle tips. I have dedicated hundreds of hours to researching all of my passions. My ultimate goal is to share this valuable information with all of you to take the guesswork out of your projects and help make your lives easier.


